Once again it’s showtime. This year we’re doing a dance production of Pirates of the Caribbean. Yes there’s artistic license used – show me a stage production that doesn’t! – but the story is there. I’ve heard some of the music so far, received the script – which now has to be turned into a working script for distribution to all parties involved.
The logistics are giving me nightmares. I have four scenes with one basic set. Port, mansion, treasure island and deck. Just a bit of a challenge. 🙂 I’ve got the sketches done for the various scenes – now to make it reality.
I’ve started working on the props and the jewelry for the dancers. How to create jewelry that’s as authentic to the period as possible, yet “dances”. In other words doesn’t swing around and slap someone in the face, doesn’t catch on costumes or arms, hands, legs and feet (yes, they’re all involved in dancing!), won’t move around during the dance BUT still be visible from the audience. 😀 Then of course there’s the little factor that you need 12 or more IDENTICAL sets of jewelry, sometimes more, depending on the size of the group.
Finding the required number of old mountings – scrap! Finding the right size mountings – scrap! So… thank God for whoever invented polymer clay! This is the first time I’m using polymer in any of my sets. It’s got it’s own learning curve involved but so far I’m really happy with the results.
The jewelry for the maidens involves a triple strand pearl choker with a large cameo focal. Try finding the right sized cameos. LOL. Out came the one and only cameo I had inherited from my gran, add Alleygoop silicone molding compound and the first cast was made. Take said resulting mold and make ONE cameo. Haul out the sculpting tools and re-define ALL the details, cut away any surrounding clay, smooth and create just the actual head. Make second mold. Happy? Yes! So make another 13 heads – one extra just in case! Brush on paint and antique to try and resemble the pink tones of the original shell carving – yeah okay, I can live with those. Once those were done, I then had to create a suitable background to mount those on in the form of a cab which would still need a suitable old fashioned mounting.
I wanted a mother of pearl look. Maybe I shouldn’t have read the instructions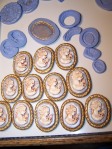 for faux mother of pearl at nearly midnight right before going to sleep. I duffed it – used translucent instead of pearl clay as the base. However – having gone that far, I wasn’t going to waste any clay. Out came my pearlex powders and I created something vaguely shell like that worked. Cut those out in an appropriate size oval – oops! Wait! No oval cutter. Find suitable chewing gum container, cut away the top and file the edge to a taper. That worked. Ovals cut, heads added and the lot cured. Oval cutters arrived 3 weeks later. Figures! Ok – so now add a mounting and figure how in the name of all that is holy I’m going to add them to the choker. There is of course, the possibility that the focal will have to be changed for a different dance item – hmm… a pin? Could work.
The mounting became an exercise in learning. I found an old earring with a lovely surround, obviously the wrong shape – wouldn’t possibly be simple right? – and made a silicone mold of just the detail of the mounting. Roll out a nice long snake of polymer and take a few impressions of the detail. Cut strategically and join into a long rope – wind around the cured cab to get the exact shape and tweak the join. Great! Layer that on top of a medium thick sheet of clay and trim the excess away. Neaten the joins, double check that everything is properly joined, cure. Prototype of the mounting made. More Alleygoop, another mold.
The mountings made and “gilded”, cameo’s in place, I derived a “channel” piece on the back that will take the three strands of pearls (the concept of changing the focal has thankfully been scrapped), and now I get to repeat the entire process for the earrings. Only much, much smaller. At this stage the mold for the cameos is made, as well as the mold for the mounting. I just have to sit down and make them.
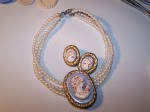 The sample set was made – rather happy with the way it all turned out, as is the dance teacher.
In the meantime the treasure chest yawns wide open, decidedly empty and begging to be filled. A few strands of pearls finished so far, along with a few other bits and bobs I’ve scrounged. There is a set to build, totem poles to make, paintings to be done, supplies to be bought, a chandelier and a mast to construct and we’ve barely started.
Oh, did I tell you the show is in July?
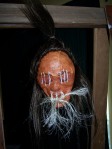


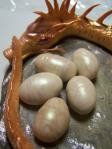
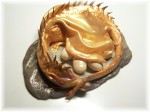 For whatever reason my muse is not yet done with the dragons. The second one – a gold – is in the oven and in process of being made. The base for the third one is complete, waiting for the dragon to be born.
 minds eye. Shimmering, sparkling flickers of colour and sheer strength in their lithe, limber forms.
 Welcome to my world.
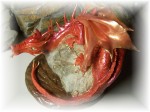 The Dragon – he is done!!! What an adventure and learning curve! Head breaking off and having to be re-attached, premature flying lessons, broken base, broken tail, broken neck spikes, broken wings – gads! Anything and everything that could go wrong went wrong, BUT! He is finished and I think he is gorgeous. Just needs a name.
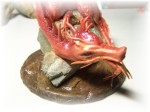 So this little adventure is not without it’s mishaps, sidesteps and curve-balls. During one of the curing sessions, having attached the hind leg and forearm on the one side, the head broke off. I promise you St George was no where near! No swords, no maidens in distress or anything of the kind!
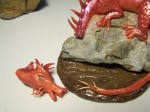 and forearm to the other side of the dragon. Into the oven. Repaired the lower jaw, added “wattles” and cured. Got that out the oven and the lower jaw decided to part company again! Blow that – so complete reconstruction of the lower jaw and emergency surgery to repair a crack in the neck. Drilled a little hole, added a tiny piece of toothpick as “peg”. Drilled a tiny hole in the body end of the neck. BAD idea. It cracked and two little pieces chipped away.
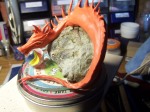 Isn’t it amazing how one’s muse can lead you off in a direction not of your choosing? First it was the scarabs – I’m not done with those yet. There are so many more I want to make! BUT!!!! and it’s a big BUT….
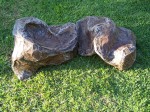
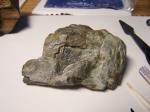 chose 3 – or was it 4? – washed and sealed them. I want that lovely wet stone look with all the colours as rich and vibrant as can be. Naturally all the pieces of rock I came home with had rust and copper tinges in them. I did NOT choose them because of that – I chose them because of their shape! Understand – I am not in control of this adventure.
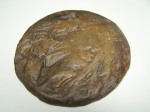 Next question was the base – what to use? I just happened to have a round glass coaster, expressly bought to cover with a cane sheet and use as a coaster, but no! Muse had other ideas. Some grey shark scrap, a rock to texture and some acrylic paint later and the whole thing looks like a stone base. 🙂 Sealed and drying as I type.
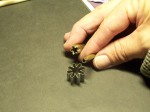
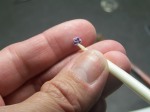
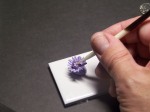
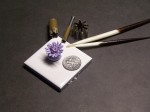
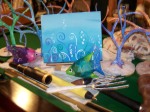
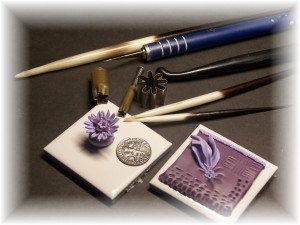 Where would I be without my collection of porcupine quills? I think I have about 20 in varying sizes and thicknesses. Some I’ve picked up, some I’ve bought. They stand in a clay covered jar on my table within sight and easy reach. There isn’t a single project I’ve done that they haven’t come into play one way or the other. I don’t have clay shapers and the rubber tip brushes I do have are huge, bought to work with plaster of paris in big art projects and a long way from being suitable for clay at this stage. My cake decorating tools – jem tools – are wonderful, but in some cases too big. The porcupine quills enable me to work really fine and get far greater detail.
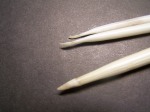
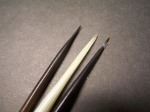
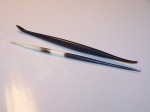
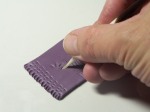 case of the tiny quills, lovely clear sharp stitch lines for the embroidered clay. They also play a vital part in the formation of the embroidery stitches.
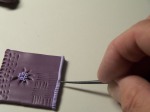
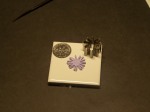
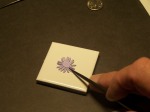
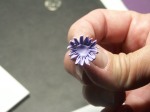
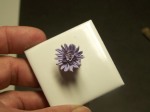
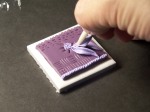 and also use the barb end to position and indent tiny balls of clay in the flower centres. It gives the appearance at times of tiny little beads. In the photo on the right you can see a combination of all the different things – cross hatching as in a basket weave, coin edging, stitch lines, “frill” on the one end of the square, the tiny flower centres and the petals of a flower, veined and being positioned.